
Discovering an active slab leak is stressful, but taking prompt, methodical action in the first 24 hours can prevent thousands of dollars in water damage, preserve your insurance claim rights, and restore household safety.
| Specification / Diagnostic Metric | Engineering Standard / Detail |
|---|---|
| Immediate Step 1 | Turn off the main water shut-off valve to halt erosion |
| Immediate Step 2 | Power down water heater breaker/gas supply to prevent tank burnout |
| Immediate Step 3 | Photograph and video all wet flooring, baseboards, and water meter |
| Immediate Step 4 | Call a certified non-invasive leak detection specialist (not a rough plumber) |
| Insurance Protocol | Report claim as 'Sudden & Accidental Discharge of Water' |
| Avoid | Never authorize random jackhammering without certified diagnostic confirmation |
The Immediate 5-Step Emergency Protocol
Step 1: Shut Off the Main Water Supply
Locate your home's main water shutoff valve (usually situated in the garage, utility closet, or near the municipal curb box) and turn the handle clockwise until fully closed. This immediately stops pressurized water from continuing to wash away sub-slab soil and flood your flooring.
Step 2: Shut Down Your Water Heater
If the leak is on the hot water line and water continues escaping, the water heater tank could empty while heating elements remain active. For electric water heaters, switch the dedicated breaker OFF. For gas units, rotate the gas valve to the PILOT position.
Step 3: Comprehensive Damage Documentation
Before moving any furniture or extracting water, take clear, timestamped photos and high-resolution video of all affected areas:
- Wet carpet, warped hardwoods, or discolored tile grout.
- Water meter reading and spinning leak indicator.
- Drywall baseboard swelling or paint bubbling.
Navigating Insurance Coverage (HO-3 Policies)
Most standard homeowners policies cover the cost of accessing the leak (tearing out and rebuilding flooring/walls) and water damage remediation, but exclude the direct plumbing pipe repair itself. Proper diagnostic documentation is critical for claim approval.
Step 4: Engage a Certified Non-Invasive Leak Detection Specialist
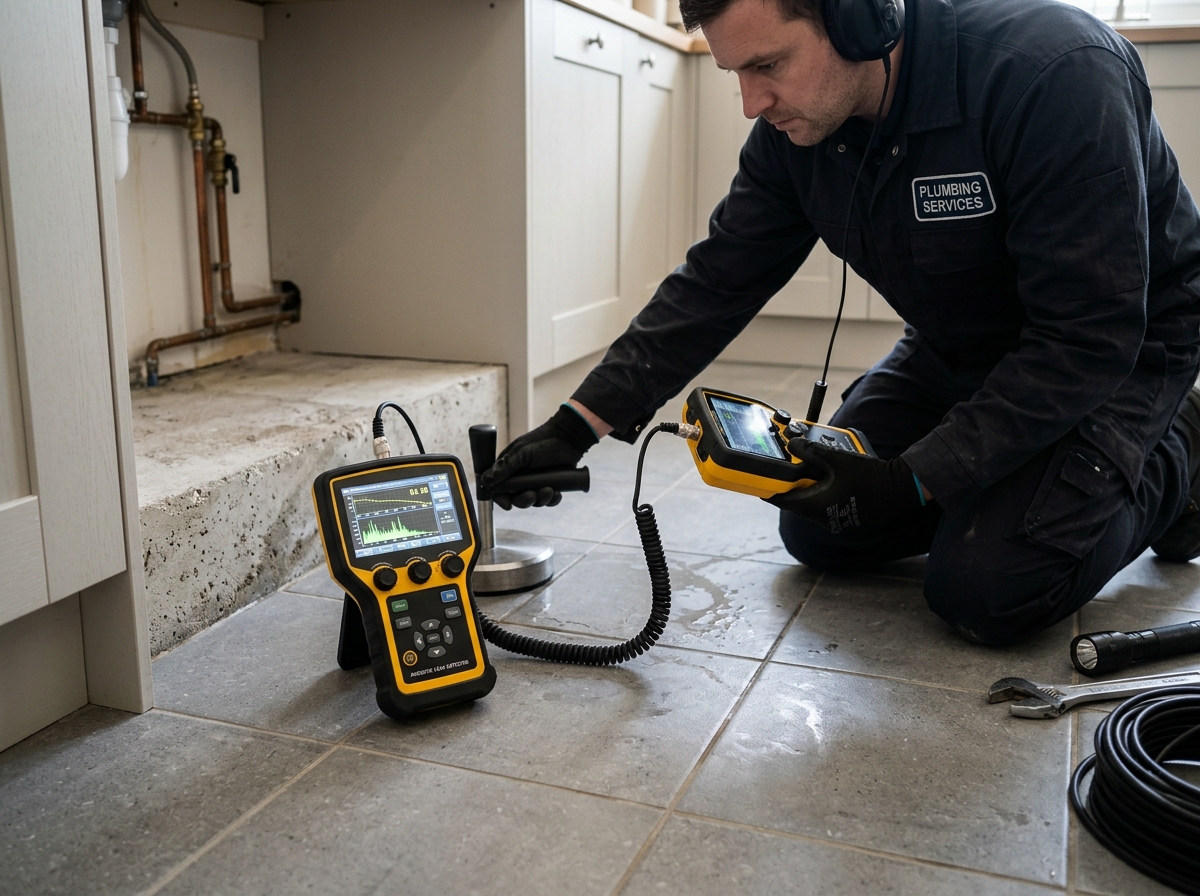
Do not call a general handyman or traditional drain-clearing contractor who may bring a sledgehammer and begin guessing where the leak is. Call a specialist equipped with acoustic ground geophones, thermal imaging, and electronic line locators who can provide an exact diagnostic report.
Step 5: Review Repair Options Before Jackhammering Begins
Once the leak is pinpointed, demand that the contractor explain both direct spot repair and overhead PEX reroute options. In the vast majority of modern residential cases, an overhead reroute provides a cleaner, faster, and structurally superior outcome.